Picking the right stuff to stick your tiles down with can feel like a puzzle. You’ve got all these options, and they all do slightly different things. Whether you’re tiling a shower, a patio, or just a small backsplash, the type of mortar sealant you choose makes a big difference in how long your project lasts and how good it looks. Let’s break down what’s out there and how to pick the best mortar sealant for whatever you’re building.
Key Takeaways
- There are different kinds of mortar sealant, like thin-set, mastic, and epoxy, each good for different jobs.
- For wet areas or places that get hot, thin-set mortar sealant is usually the way to go because it holds up well.
- When you’re working with big tiles, you need a special mortar sealant made for them to handle the weight and keep things even.
- Always get your surfaces ready before you start; they need to be clean and dry for the mortar sealant to stick right.
- Different projects need different strengths and features from your mortar sealant, so think about where it’s going and what it will go through.
Understanding Different Mortar Sealant Types
When you’re starting a tiling project, picking the right mortar sealant is a big deal. It’s not just about sticking tiles down; it’s about making sure they stay put, look good, and last. Think of it like choosing the right glue for a specific job – you wouldn’t use the same stuff to fix a ceramic mug as you would to build a bookshelf, right? Mortar sealants are kind of like that, with different types designed for different situations.
Thin-Set Mortar for Versatile Applications
Thin-set mortar is probably the most common type you’ll run into. It’s super versatile and works for a lot of different projects, both inside and out. It gives you a really strong bond and doesn’t mind getting wet or dealing with heat, which is why it’s a go-to for shower floors, kitchen backsplashes, and anywhere moisture might be an issue. You can get it ready-mixed or as a powder you mix with water yourself. A neat trick about thin-set is that it can help even out slightly bumpy surfaces, which is a nice bonus.
- Great for wet areas: Showers, bathrooms, kitchens.
- Works indoors and outdoors: Flexible for various projects.
- Helps level surfaces: Good for slightly uneven substrates.
- Strong bond: Resists moisture and heat well.
Mastic Adhesives for Dry Areas
Mastic is a bit different. It comes pre-mixed and has a sticky, almost glue-like consistency. It’s water-based and easy to clean up, which is a plus. However, it’s not the best choice if your project is going to get wet or be exposed to high temperatures. So, you’ll typically see mastic used in drier spots, like maybe a backsplash in a powder room or a wall in a dry hallway. Just a heads-up, it’s usually not recommended for glass tiles.
Mastic is a pre-mixed adhesive that’s easy to work with for simple tiling jobs in areas that stay dry. It cleans up easily but lacks the strength and resistance needed for more demanding environments.
Epoxy Mortar for High-Strength Bonds
Now, epoxy mortar is in a whole different league. It’s made of three parts – a resin, a hardener, and a powder – and when you mix them, you get an incredibly strong, waterproof bond. It sets up pretty fast and can handle chemicals like a champ. The downside? It can be a bit tricky to mix and apply, and it’s usually more expensive. Because of this, epoxy mortar is often reserved for professionals, especially for things like ceramic tile floors where you need that super-tough, long-lasting connection. It’s a good option when you need something that will really hold up. For tough jobs, consider looking into penetrating breathable sealers for masonry protection.
Choosing Mortar Sealant Based on Project Needs
So, you’ve got a project in mind, and you’re wondering about the best mortar sealant. It’s not a one-size-fits-all deal, you know? What works for a small bathroom floor might be a total flop on an outdoor patio. Let’s break down how to pick the right stuff based on where and what you’re building.
Mortar Sealant for Large Format Tiles
Dealing with those big, fancy tiles? They’re heavier and can be trickier to get perfectly flat. You’ll want a mortar specifically made for large format tiles. These are formulated to handle the extra weight and help keep everything level, reducing those annoying lippage issues where one tile edge sticks up higher than the next. It’s all about giving those big boys the support they need.
Selecting Mortar Sealant for Exterior Projects
When your project is going to face the weather, you’ve got to think tougher. For outdoor tiling, you need a mortar that can handle temperature swings, moisture, and maybe even freezing and thawing. Thin-set mortar is often a good bet here because it bonds well and resists moisture. If you’re tiling something that might get wet, like a pool deck or an outdoor kitchen, make sure the mortar you choose is rated for those conditions. For exterior projects, selecting the correct mortar is essential for longevity [f76f].
Interior Mortar Sealant Considerations
Inside, things are usually a bit more forgiving, but you still need to match the mortar to the room. For areas that get a lot of moisture, like bathrooms or kitchens, a moisture-resistant thin-set is your friend. It’ll hold up better against splashes and steam. In drier areas, like a living room or a hallway, you might have more flexibility, but it’s still good practice to use a quality thin-set for a strong, lasting bond. Mastic adhesives are generally best left for dry areas only, as they don’t handle moisture well.
Here’s a quick rundown of what to consider:
- Moisture Levels: High-moisture areas (showers, kitchens) need water-resistant mortars.
- Tile Size: Large format tiles require specialized mortars.
- Location: Exterior projects need weather-resistant options.
- Substrate: The surface you’re tiling onto can influence your choice.
Picking the right mortar sealant isn’t just about sticking tiles down; it’s about making sure they stay put and look good for years to come, no matter what the environment throws at them. It’s worth taking a little extra time to get it right the first time.
Key Properties of Mortar Sealants
When you’re picking out the right stuff for your project, it’s not just about what it’s called. You gotta look at what it actually does. Think of it like choosing tools for a job – a hammer is great for nails, but not so much for screws, right? Mortar sealants are similar. They all have different strengths and weaknesses, and knowing them helps you avoid headaches later on.
Compressive Strength and Flexibility
This is a big one. Compressive strength is basically how much weight or pressure the mortar can handle without squishing. Some jobs, like building a foundation, need something super strong that won’t budge. Other jobs, like tiling a floor that might shift a little, need a bit more give. Flexibility lets the mortar move a tiny bit without cracking. It’s a balancing act.
Here’s a quick look at how different mortar types stack up:
| Mortar Type | Compressive Strength (psi) | Typical Use |
|---|---|---|
| Type M | 2,500 | Foundations, retaining walls |
| Type S | 1,800 | Exterior walls, patios |
| Type N | 750 | General purpose, interior walls |
| Type O | 350 | Non-load-bearing interior |
Moisture and Heat Resistance
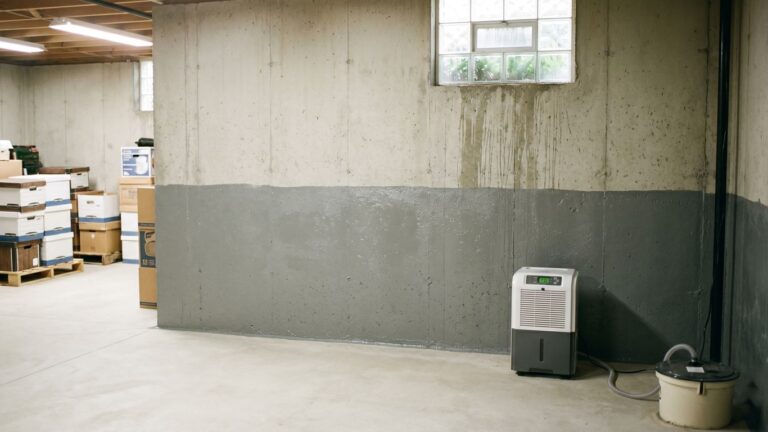
This is super important, especially if your project is going to get wet or hot. If you’re tiling a bathroom or an outdoor patio, you need a sealant that can handle water without breaking down. Some sealants can get damaged by heat, too, so think about where the project is located. For areas that see a lot of moisture, like shower floors, thin-set mortar is usually a good bet because it’s made to resist water. For places that stay dry, like a simple backsplash in a kitchen, a different type might be fine. It really depends on the environment.
Some sealants are designed to let moisture vapor escape from the material they’re protecting. This is often called ‘breathability’ and can be important for preventing issues like efflorescence, which is that powdery white stuff you sometimes see on masonry.
Adhesive and Sealing Capabilities
At the end of the day, mortar sealant has two main jobs: sticking things together and filling gaps. You want something that grabs well and holds tight, whether it’s holding tiles to a wall or bricks together in a structure. The sealing part means it fills in the spaces, preventing water or other things from getting in where they shouldn’t. Some sealants are better at sticking, while others are better at sealing. For example, epoxy mortar is known for its incredibly strong bond, making it great for high-strength applications. On the other hand, some penetrating sealers are designed to soak into the material and harden it from the inside out, offering long-term protection. Choosing the right balance for your specific needs is key to a lasting project. If you’re working with large tiles, you’ll want a mortar specifically formulated for large format tiles to ensure proper adhesion and support.
Application and Preparation for Mortar Sealants
Getting the mortar sealant ready and putting it on right is super important. If you mess this part up, even the best sealant won’t stick well or last long. It’s kind of like prepping a canvas before you paint – you wouldn’t just slap paint on a dirty, bumpy surface, right?
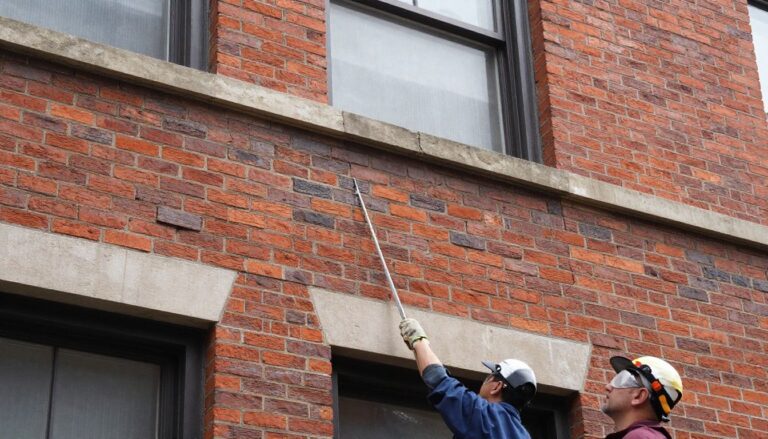
Proper Joint Preparation Techniques
Before you even think about squeezing out sealant, you need to make sure the joints are clean and ready. This means getting rid of any old gunk, dust, or anything else that might be hanging out in there. For joints that are pretty deep, you might need to use a backer rod. This is basically a foam rope that you push into the joint to control how deep the sealant goes. It stops the sealant from sinking too far and helps it form a nice, even bead. The depth of the sealant should generally be about half the width of the joint, especially if the joint is wider than 10 millimeters. Always check the sealant’s product info for specific details on joint sizes and what kind of backer rod to use.
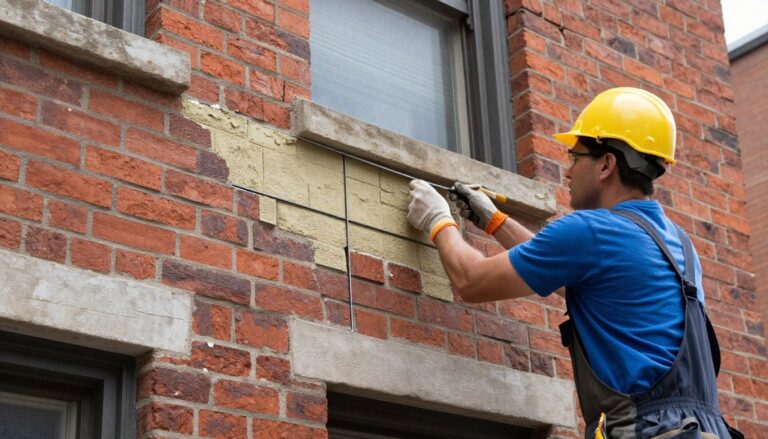
Surface Preparation for Optimal Adhesion
This is where you make sure the surfaces next to the joint are clean and sound. You want them to be dry, firm, and totally free of anything that could stop the sealant from sticking. If you’re working over old sealant, you’ll have to scrape or cut all of that old stuff off first. You need to get down to the original surface. Sometimes, depending on the sealant you pick, you might even need to use a primer to help it grab on better. Making sure the surface is solid is key, like when you’re getting concrete ready for a new coating; you need to remove any loose bits first [3c33].
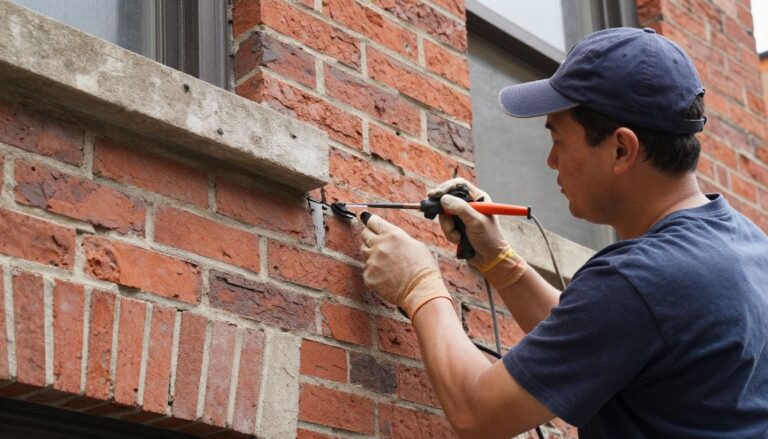
Application Methods for Mortar Sealants
Once everything’s prepped, it’s time to apply the sealant. You’ll usually load it into a caulk gun. Snip the tip of the nozzle at an angle to get the bead size you want, then puncture the seal inside the tube. Apply the sealant with steady pressure, pushing it into the joint from the bottom up. Try not to just bridge the gap across the top, as this can trap air bubbles. It’s usually best to work in manageable sections. After you’re done, clean up any excess sealant and your tools right away with the recommended cleaner, like mineral spirits, while it’s still wet. Cured sealant is a lot harder to deal with and usually needs to be cut away.
Here’s a quick rundown of what to do:
- Clean the joint: Remove all old sealant, dirt, and debris.
- Insert backer rod (if needed): Ensure proper depth control for the sealant.
- Prepare surfaces: Make sure they are dry, sound, and free of contaminants.
- Apply sealant: Use a caulk gun for steady, even application into the joint.
- Tool and clean up: Smooth the bead and remove excess sealant immediately.
When applying sealant, think about the temperature and moisture conditions. Most sealants have specific temperature ranges they work best in, and applying them outside these ranges can really mess with how they cure and perform. Always read the manufacturer’s instructions carefully before you start.
Choosing the right sealant is one thing, but putting it on correctly is another. Taking the time for proper preparation, like cleaning out cracks in concrete before repair [6638], makes a huge difference in the final result and how long it lasts.
Advanced Mortar Sealant Technologies
When you’re looking to really step up the performance of your mortar joints, there are some pretty neat technologies out there that go beyond the standard stuff. These aren’t your everyday mixes; they’re designed for specific, demanding situations where regular mortar just won’t cut it. Think of them as the high-performance upgrades for your project.
Penetrating Sealers for Durability
These sealers are pretty cool because they don’t just sit on the surface. Instead, they soak into the pores of the mortar. This means they offer protection from the inside out, which is way better for long-term durability. They’re great for keeping water and stains from getting in, and they don’t usually change the look of the mortar much, which is nice if you like the natural appearance. They’re a solid choice for exterior applications where the mortar is constantly dealing with the weather.
- Deep Protection: Soaks into the mortar, not just on top.
- Maintains Appearance: Usually doesn’t change the color or texture.
- Weather Resistance: Helps guard against freeze-thaw cycles and water damage.
- Breathability: Allows moisture vapor to escape, preventing trapped moisture issues.
Penetrating sealers work by chemically reacting within the pores of the masonry material. This reaction creates a hydrophobic barrier that repels water while still allowing the material to breathe. This is key to preventing spalling and efflorescence, common problems in exposed masonry.
Silicate and Siloxane Sealant Benefits
Silicate-based sealers, often called mineral sealers, react with carbon dioxide in the air to form a hard, crystalline structure within the pores of the mortar. This makes them incredibly durable and long-lasting, almost becoming part of the masonry itself. Siloxane sealers, on the other hand, are water-repellent and work by creating a barrier that stops liquid water from entering, but still lets water vapor pass through. They’re often used on surfaces that need to stay dry, like some types of stone. Both offer excellent protection, but they work in slightly different ways. For really tough jobs, you might even find products like BASF NP1 that combine some of these advanced properties for versatile sealing.
Polyester and Polyurethane Sealant Performance
Now, polyester and polyurethane sealants are a different breed altogether. They’re typically used where you need a really strong, flexible bond that can handle movement and stress. Think of joints that might expand and contract a lot. Polyurethane sealants, in particular, are known for their excellent adhesion to a wide range of materials and their resistance to abrasion and chemicals. They’re often used in industrial settings or for high-traffic areas. While they might cost a bit more upfront, their performance and longevity can make them a cost-effective choice for demanding projects. Some specialized products, like those designed for high heat resistance, might incorporate these advanced polymer technologies for extreme conditions.
Wrapping It Up
So, picking the right mortar sealant really boils down to what you’re working with. Whether you’re dealing with delicate tiles in a steamy bathroom or laying down some serious brickwork outside, there’s a product out there for the job. Don’t just grab the first thing you see; take a minute to think about strength, where it’s going, and how much moisture it’ll face. Getting this right means your project won’t just look good, it’ll last a whole lot longer. Happy building!
Frequently Asked Questions
What’s the main difference between thin-set mortar, mastic, and epoxy mortar?
Think of thin-set as your all-arounder; it’s great for most jobs, even wet areas like showers, and helps even out bumpy surfaces. Mastic is like a sticky glue that’s easy to use in dry spots but can’t handle water or heat. Epoxy is the super-strong champion, perfect for tough jobs, but it’s a bit tricky to work with and costs more.
Do I need a special mortar for big tiles?
Yes, you do! Tiles bigger than 15 inches on any side need a special ‘large-format’ mortar. This stuff is made to handle the extra weight and keep everything flat and even between those huge tiles.
Can I use the same mortar inside and outside?
Not always. For outside projects, especially if they’ll get wet or face different temperatures, you’ll want a mortar that’s tough and waterproof, like thin-set. Inside, you have more options, but always check if the mortar can handle moisture if it’s for a bathroom or kitchen.
What does ‘compressive strength’ mean for mortar?
Compressive strength is basically how much weight or pressure the mortar can handle without breaking. Higher numbers mean it’s stronger and can support more. But sometimes, a softer, more flexible mortar (lower strength) is better because it can handle small movements without cracking.
How do I get the mortar ready to use?
If you’re using powdered mortar, you’ll mix it with water in a bucket until it’s smooth and creamy, like thick cake batter. It should slide off your tool but still hold its shape. Make sure the surface you’re applying it to is clean and dry first!
What are penetrating sealers, and why would I use one?
Penetrating sealers soak into the material, like brick or concrete, to protect it from the inside. They’re great for making things last longer, resisting water, and preventing damage from weather or stains. Some are super strong and can even harden the surface a bit.